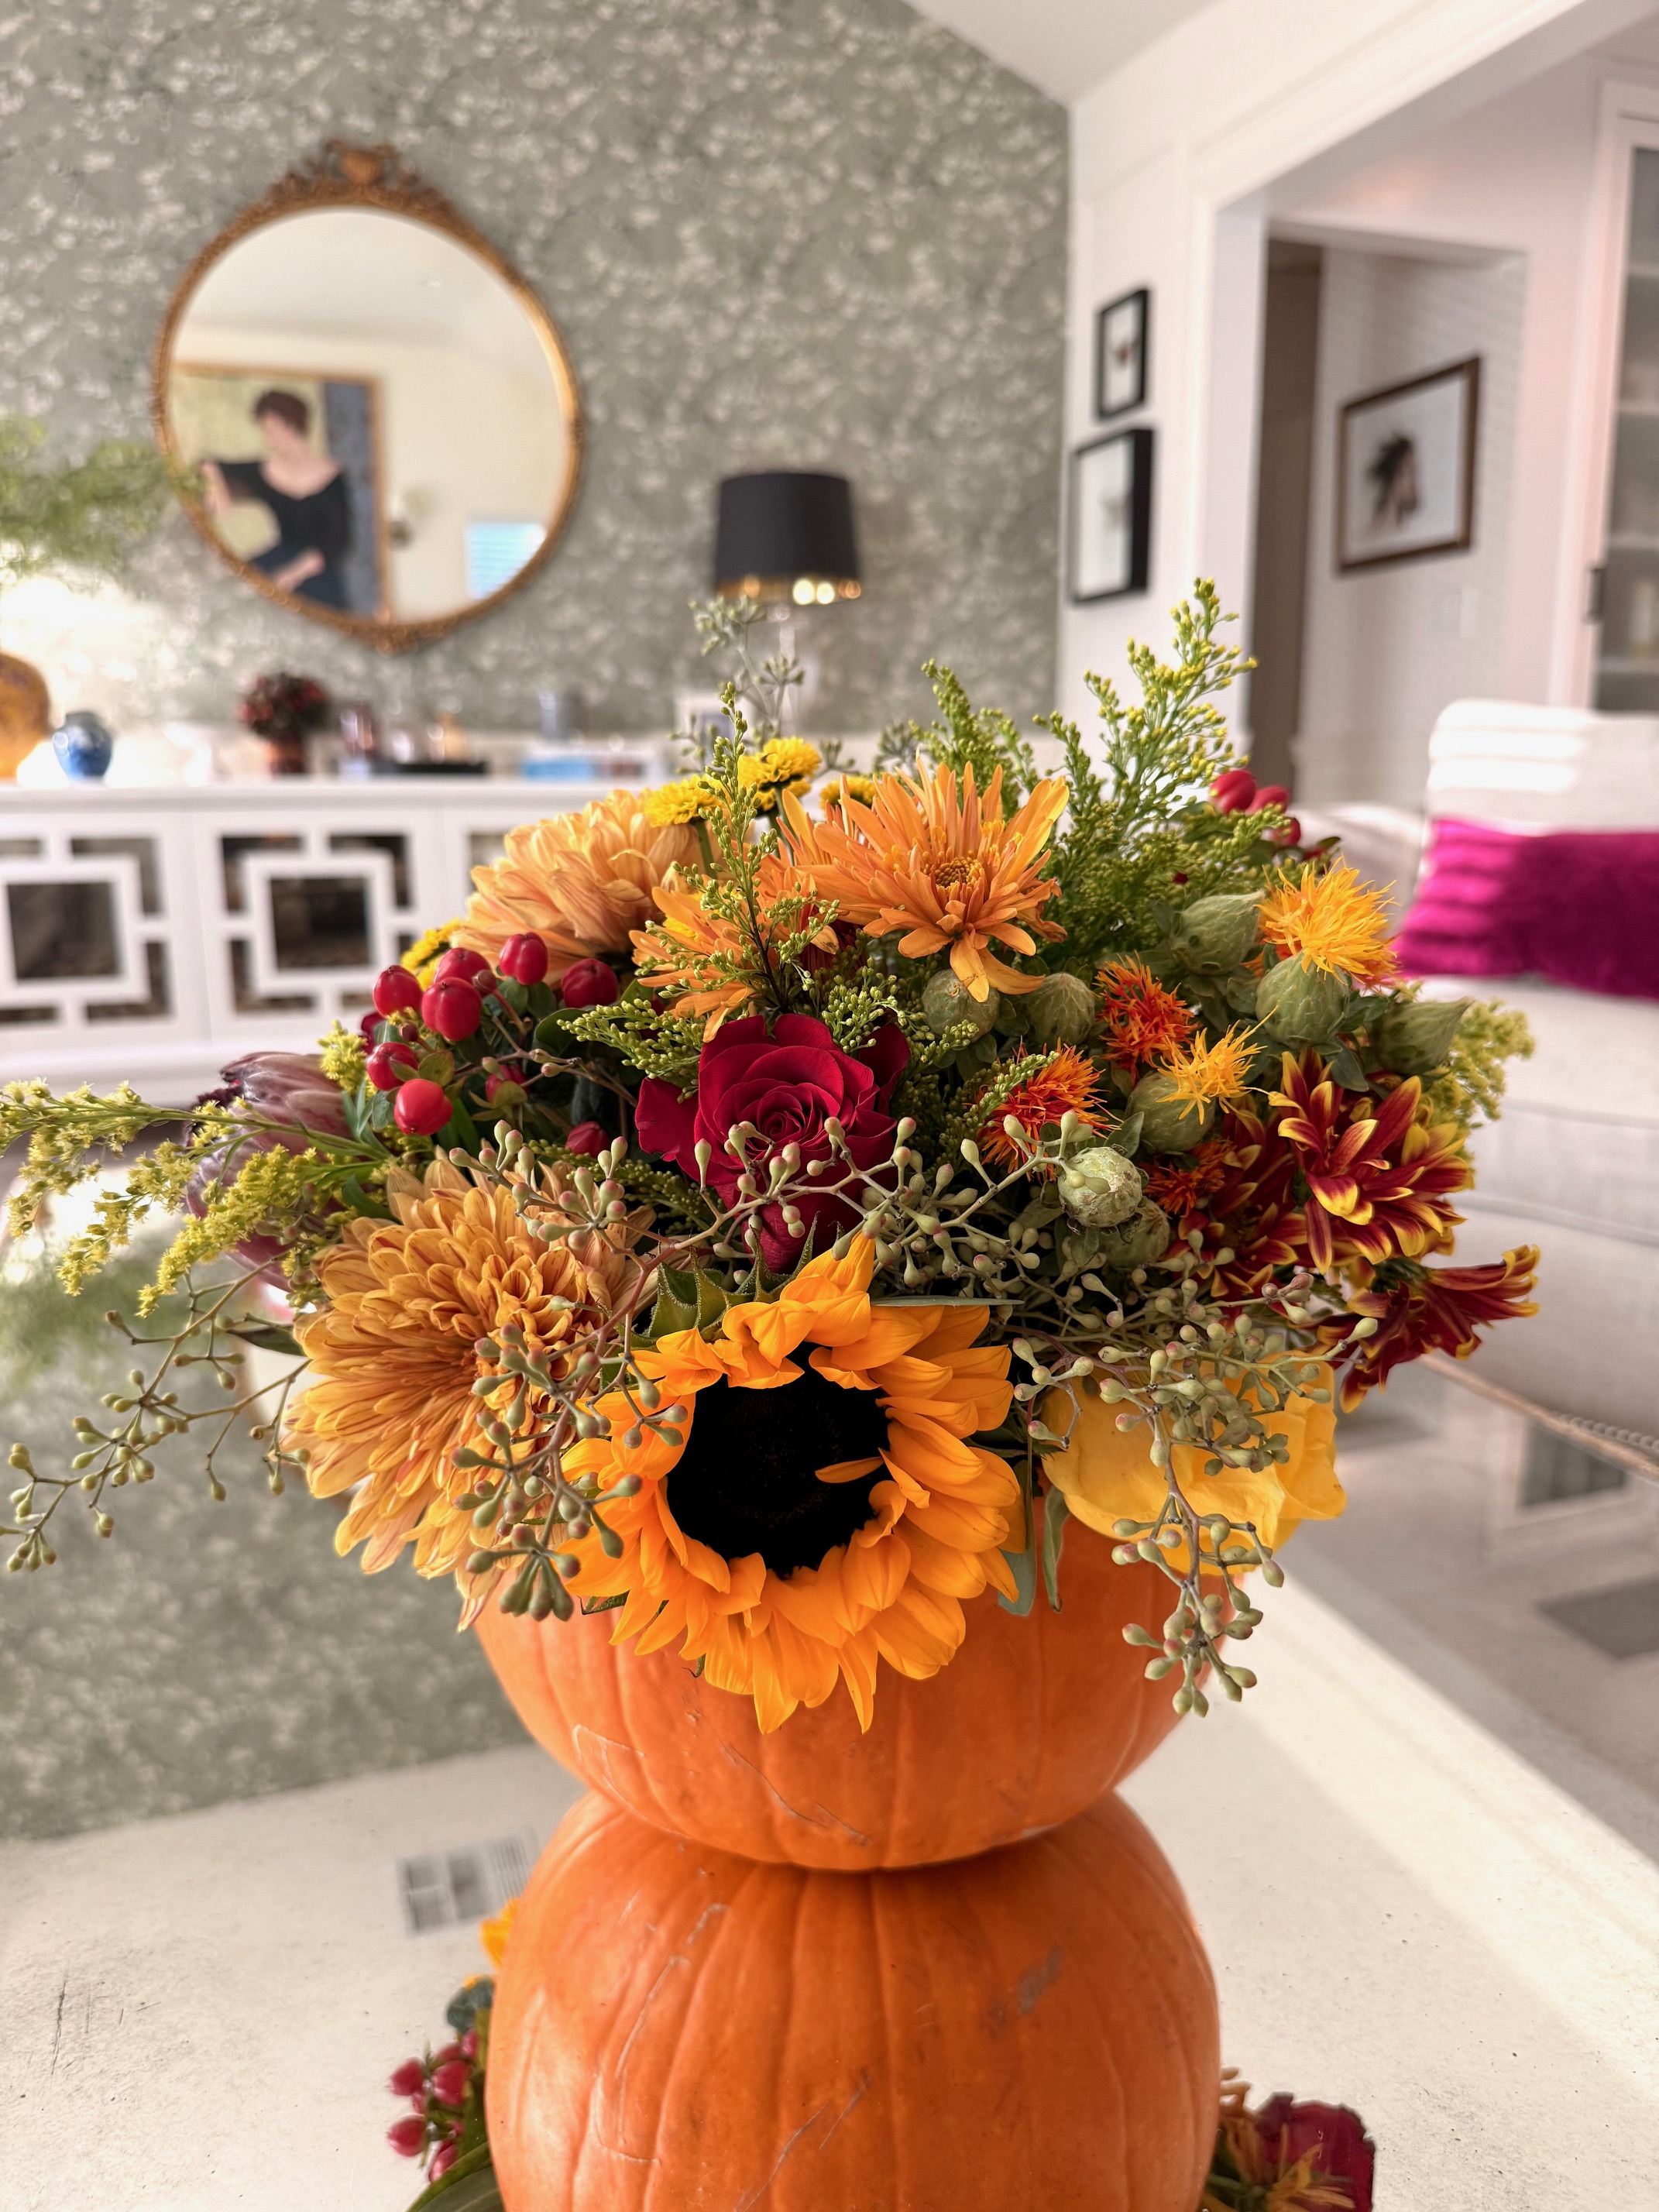
As Halloween is now in the rearview mirror, and we look ahead to the upcoming holiday season, you might find yourself with extra pumpkins that you’re not sure what to do with. Or maybe you’re looking for the perfect accent for your home or tabletop as you enjoy the remainder of the Fall season. A floral arrangement using a pumpkin as a vase is not only festive but also a fun and creative project. In this post, I’ll guide you through the steps to create a stunning arrangement that combines the beauty of flowers with the rustic appeal of a pumpkin.
Step 1: Rinse Off the Pumpkin
Before diving into your arrangement, start by giving your pumpkin a good rinse. This simple step helps remove any debris or dirt and can extend the life of your pumpkin. Use warm water and a gentle sponge to wipe away any grime, and be sure to dry it off afterward. This prep work ensures that your pumpkin is clean and ready to showcase your floral design.

Step 2: Cut Off the Top
Next, it’s time to prepare your pumpkin for its floral debut. Using a serrated knife, cut off the top of the pumpkin. A good rule of thumb is to remove about 25-35% from the top (note where I drew a line on the pumpkin). This will create a wide enough opening for your flowers while allowing the pumpkin to retain its shape. Be sure to cut at an angle to prevent the top from falling inside the pumpkin.


Step 3: Clean Out the Inside
With the top removed, it’s time to scoop out the insides. I like to use a knife to carefully cut around the inside perimeter of the pumpkin to loosen the flesh. Once you’ve made your cuts, grab a large tablespoon or a pumpkin scooper and start removing the seeds and stringy pulp. This step is crucial as it creates a clean space for your flowers and helps prevent any decay. As for the top of the pumpkin, you can discard.

Step 4: Arrange Your Flowers
Now comes the fun part! Using the flowers you purchased from the local market, it’s time to arrange them. You can arrange them either outside the pumpkin, or by cutting and placing each individual stem or cluster into the pumpkin, adjusting as you go until you achieve your desired look. Don’t be afraid to mix heights and varieties for a dynamic arrangement—let your creativity shine!

Step 5: Add Flower Food and Water
To keep your floral arrangement fresh and vibrant, it’s essential to hydrate the flowers properly. Use the flower food mix that came with your blooms and mix it with water according to the package instructions. Pour this mixture into the pumpkin, ensuring there’s enough water to keep the flowers well-hydrated. This step not only nourishes your flowers but also helps to prolong the life of your arrangement. I typically pour the water through the center of the arrangement directly into the pumpkin. Generally 4-5 cups of water will suffice depending on the size of the pumpkin.

Step 6: Protect Your Surface
Finally, before displaying your creation, make sure to protect your surfaces. Pumpkins can emit moisture, which might damage your table or countertop. Place your pumpkin arrangement on a plate or any other flat item that can act as a barrier.
Conclusion
And there you have it! You’ve created a beautiful floral arrangement using a pumpkin as your vase. This unique centerpiece is perfect for Thanksgiving festivities or simply to bring a bit of seasonal joy into your home. With just a few steps and some fresh flowers from your local market, you can transform an ordinary pumpkin into a stunning work of art. Enjoy your creation and the compliments that are sure to follow!

Also Check Out My Instagram Tutorial!
Leave a Reply