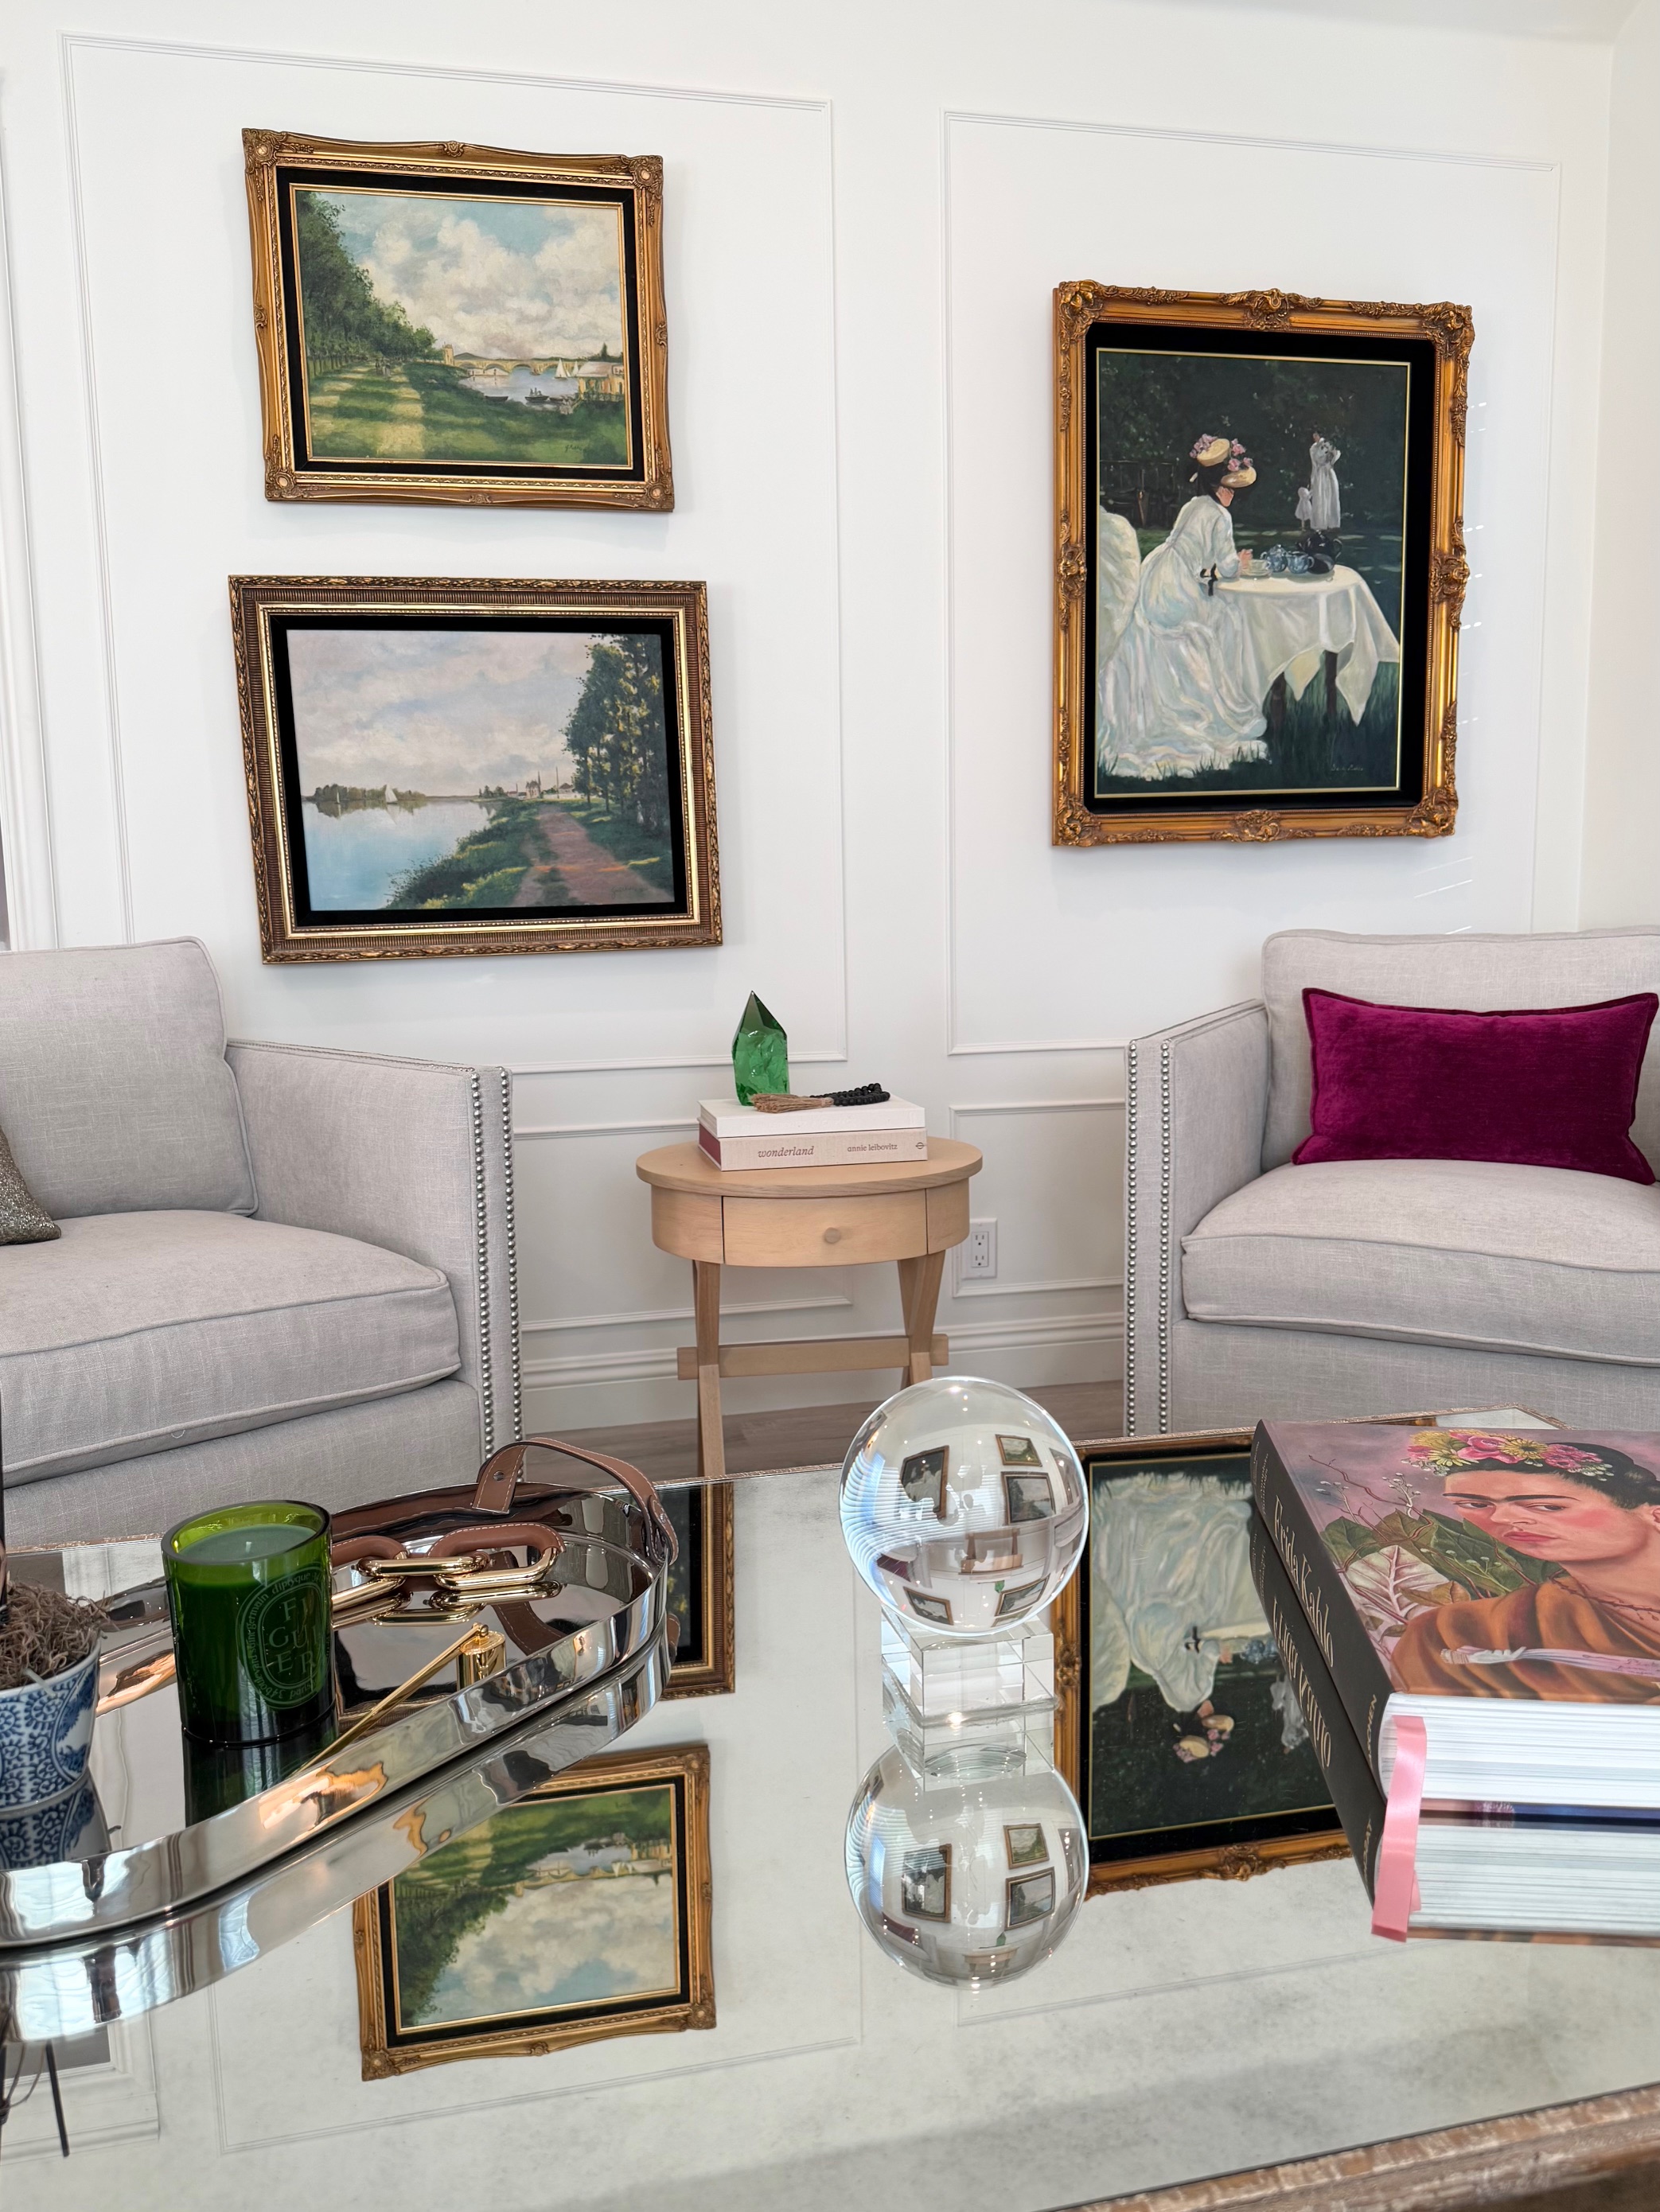
Hanging art seems simple, but getting the placement just right can make or break the look of a room. If you’ve ever stepped back and thought, Hmm… something feels off, you’re not alone! In this guide, I’ll walk you through the golden rules of picture hanging so your walls look effortlessly curated.
1. The Standard Rule for Hanging Art
The general rule of thumb? The center of your artwork should be 57-60 inches from the floor. This is the average eye level and ensures a balanced, professional look.
How to measure
- Find the total height of your artwork
- Divide it by 2 to find the center
- Measure 57-60 inches from the floor and mark this point
- Align the center of the frame with your mark, adjusting based on where the hanging hardware sits
- Note: there are other ways to measure the proper placement for your frame, but the method listed above is one of the most basic ways if you want to be exact.
This rule applies whether you’re hanging one piece or starting a gallery wall! Your gallery wall should also have the center 57-60 inches from the floor. Refer to #2 & 4 below.


2. How to Hang Two Pictures on a Wall
When stacking two pieces vertically, treat them as one unit instead of hanging each separately.
- Find the combined height of both pieces, including the space between them
- Center the entire grouping at 57-60 inches from the floor
- Keep 2-3 inches between the frames to maintain balance (generally the size of the frames will dictate how much space to use between them)
This method makes stacked art look intentional rather than randomly placed. It also helps avoid the pieces being placed too high or low on the wall.

3. Hanging Art Above a Mantle or Furniture
What about those tricky spaces, like above a fireplace or sofa? The 57-60 inch rule doesn’t always apply, but here’s a solid guideline:
Above a fireplace mantle: Keep the bottom of the artwork 4-6 inches above the mantle to maintain a strong connection to the space.
Above a sofa or console table: Leave 6-8 inches between the furniture and the bottom of the frame to prevent the art from feeling disconnected.
Bonus tip: If your art is smaller than two-thirds the width of the furniture, consider grouping multiple pieces or using a larger statement piece. Otherwise, the art could appear “lost” on the wall.


4. Large Art & Gallery Walls
- Oversized art (30 inches or taller) can be slightly higher, but should still feel visually connected to surrounding furniture.
- Gallery walls: Start with the center piece at 57-60 inches and build around it, keeping 2-4 inches between frames.
Laying out your arrangement on the floor first (or using painter’s tape on the wall) can help you visualize before committing to nails!
Final Thoughts
The right placement makes all the difference in making your space feel polished and intentional. Next time you’re hanging art, follow these simple guidelines for a designer-worthy look!
Save this post for reference & tag me on Instagram @MichaelScottHome if you try these tips!
What’s your biggest struggle when hanging art? Drop a comment below!
Leave a Reply