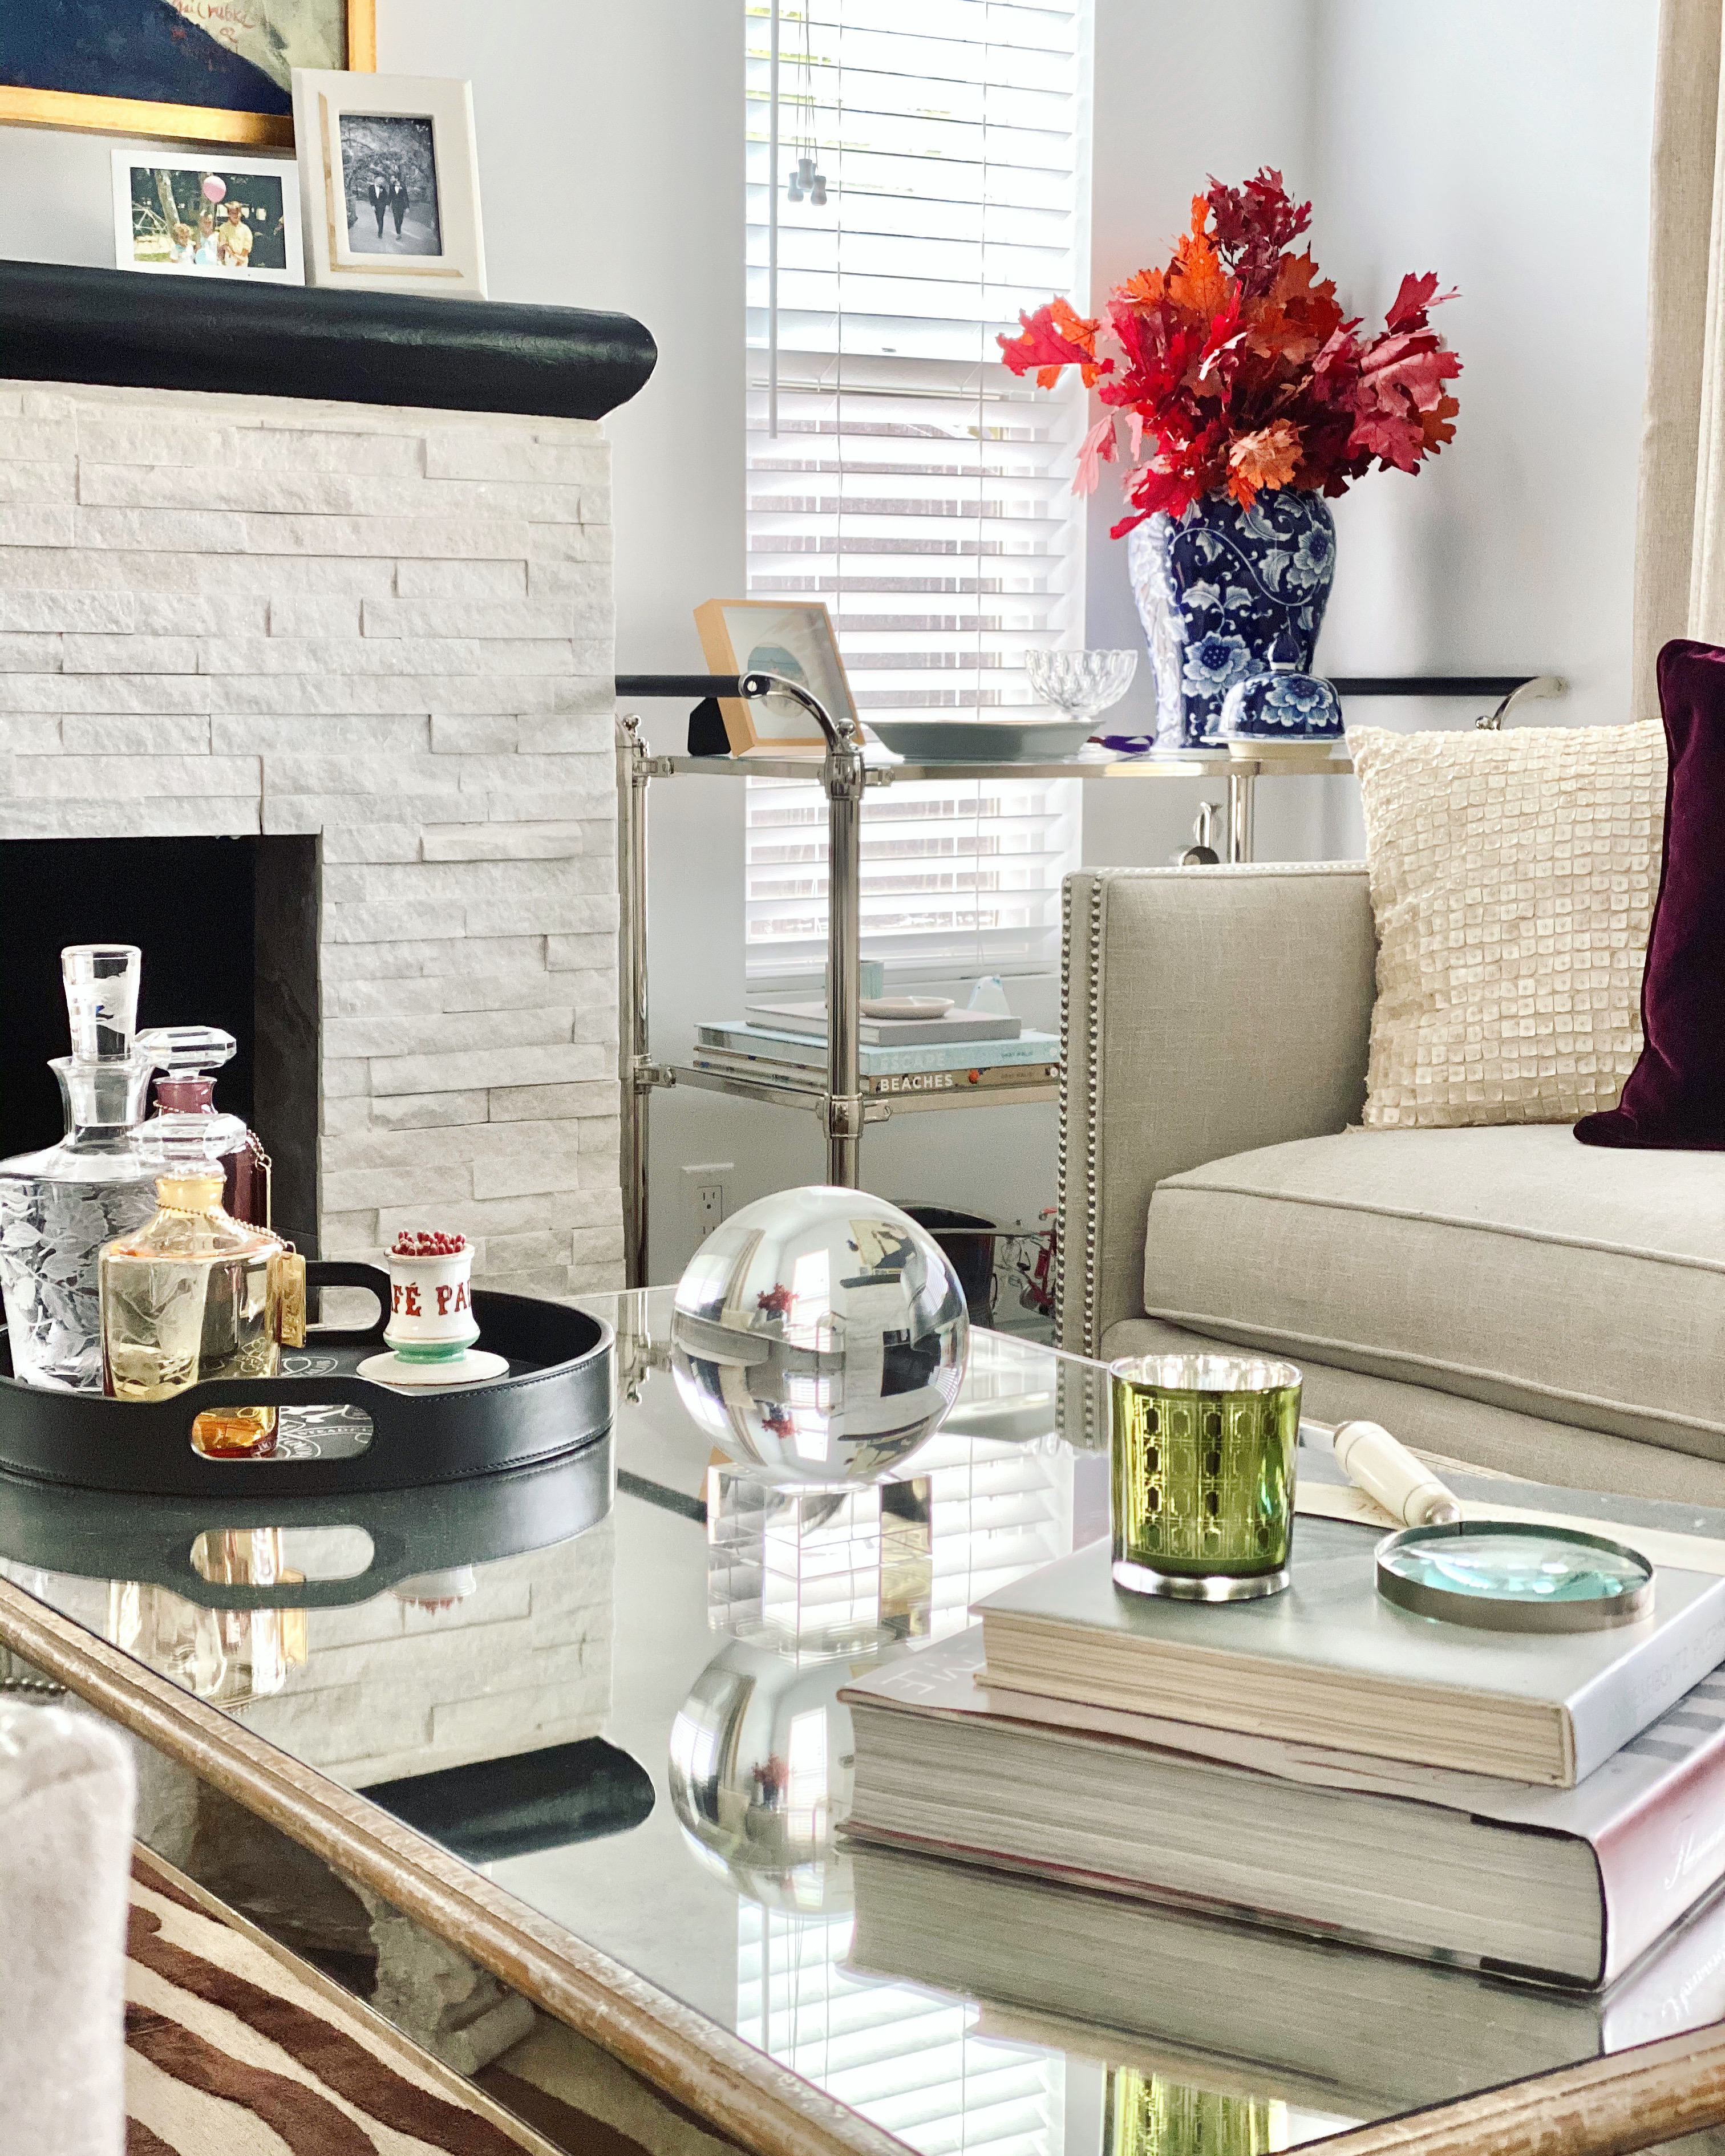
Four years ago, we stepped into our home for the first time, excited to make it our own. Looking back, it’s incredible to see how much has changed, from bare walls and builder-grade finishes to thoughtfully designed spaces filled with personality. Our journey has been filled with DIY projects, home decorating ideas, and interior design experiments, and today, I want to share four major transformations that have defined our home’s evolution. While these projects have been significant, there’s still so much more to do. Our home is a constant work in progress, and I love knowing that it will continue to evolve for years to come.
1. The Living Room Transformation
One of the first projects ever undertaken was the makeover of our our living room. It was my first time using wallpaper, and I chose a high-quality peel & stick paper from Spoonflower (their paper is amazing quality!). The wallpaper added a beautiful, customized touch to the space as I wanted one large statement wall that would be seen walking through the front door. For the other walls, I installed frame trim to enhance the architectural detail. My preference is a smaller, less bulky trim, and Lowe’s Home Improvement was a great source for the type of trim I wanted. And for the large doorway into the kitchen, I used a combination of larger trims to upgrade what previously felt like a very basic wall leading into the kitchen. Additionally, we painted the room a creamier shade of white using Sherwin Williams Cotton White, which brought warmth and softness to the overall aesthetic. When we purchased the house, the walls had been painted a bright white, and at certain times of the day, I could see blue hues, so the creamier shade of white certainly softened the overall look and feel. This project taught us that taking risks in interior design can lead to stunning results. And the best part is this space has room for continued evolution!


2. Front Bedroom Remodel
What started as a basic guest bedroom has now become one of my favorite spaces. By incorporating box wall trim (thank you Lowe’s), some new furniture, and choosing a bold color scheme, we turned this once-drab room into a cozy retreat that can be used to watch movies or even serve as an office. The transformation reinforced the power of small upgrades. In this case, it shows how a very bold choice of paint (Sherwin Williams Black Fox) can make a very impactful difference. To this day, I love showing guests the before & after of this space!


3. Hallway Upgrade
In my opinion, hallways seemingly feel like they’re often overlooked, but we saw ours as an opportunity to add charm and character. Sticking with the theme of wall trim from the first two projects, we did the same with this space, adding chair rail moulding & box trim to the lower portion, and installing wallpaper (again, from Spoonflower) to the upper portion. With the choice of wallpaper, I knew portions of it could be seen upon entering the house, so with the very bold green print from the living room, I decided to use something more simplistic in the hallway. And keeping the gallery wall we installed the week we moved in, we turned a simple passageway into a design moment. This project was a testament to the idea that no space is too small for a stylish upgrade. As a side note, this project also made me realize how drywall, and just walls in general, are not perfect. To the naked eye the walls appear fine, but when I was installing the chair rail moulding I realized there was some minor curvature to one part of the wall. The same issue with the wallpaper installation caused me to have to make a cut into the paper in order to level it back to where it was. A nuisance in both cases, and most would never notice unless I point them out 🙂


4. Kitchen Refresh
The kitchen refresh is one of our most recent projects, and it’s been a game-changer! We brightened up the space by swapping out the dark, outdated cabinets for a light & airy look. We also upgraded the tile and hardware, proving that even budget-friendly changes can make a big impact. In the case of the tile, I used Rustoleum high gloss enamel spray paint. I was incredibly nervous do do this at first, but after a lot of research, I’m so happy with the final result. The tiles look glossy, they’re smooth, and over a year later there hasn’t been any chipping or issues associated with normal wear & tear. As for the hardware, everything in the kitchen originally had the same black handles, so the cabinet doors had brushed gold knobs installed and any drawer had a brushed gold handle installed. The cabinets were painted with a paint specific for cabinets, made by Valspar. I used the Sherwin Williams color Accessible Beige for the paint, and combined with the gold accents, the space not only feels lighter, but even larger. While some readers might have preferred the former grey & black tones, I personally felt they looked too “heavy” and didn’t fit the aesthetic I was aiming for with other design choices around the house.


Shop Our Favorite DIY & Home Decor Finds
Throughout these projects, we’ve discovered some incredible tools and decor pieces that have made the process easier and more enjoyable. Below are a few of my must-have items from Amazon that I highly recommend:
- Paint Sprayer
- Miter Shears (for cutting wall trim)
- Rustoleum High Gloss Spray Paint (I used for tiles)
- Brushed Gold Cabinet Knobs
- Brushed Gold Cabinet Pulls (Handles)
- Van Gough Sage Green Almond Blossom Wallpaper
- Star Wallpaper (this also comes in multiple color combos)
As we celebrate four years in our home, I’m reminded that home isn’t just about the structure, it’s about the memories we create and the passion we pour into making it our own. Thank you for following along on this journey! I can’t wait to tackle even more projects in the coming months and years.
If you’re looking for more DIY inspiration and home decor tips, make sure to follow along on Instagram @michaelscotthome and check out more projects on www.michaelscotthome.com!
Leave a Reply